

Key Takeaways
Why Gallery Walls Go Wrong (and How to Avoid It)
A gallery wall looks effortless when it works - and chaotic when it doesn't. The most common pitfalls are jumping straight to the wall without a plan, using frames of wildly unrelated styles, and spacing pieces inconsistently. The good news is that all of these are planning problems, not hanging problems.
Before you pick up a hammer, it helps to understand what makes an arrangement feel intentional. Scale, balance, and visual flow - the same principles covered in diagnosing room layout problems - apply just as much to a wall grouping as to furniture arrangement. If you're still developing your overall design direction, finding your personal style first can help you choose frames and artwork that actually reflect what you want the room to feel like.
This guide walks you through the process in logical order: gather your pieces, plan on paper, test on the wall, then hang with confidence. Each step reduces guesswork and keeps frustration low.
What you will need
Step-by-Step: From Floor Plan to Final Nail
Follow these steps in sequence. Skipping ahead - especially past the paper-template stage - is where most crooked-frame disasters begin. The process below is designed to be forgiving: you make all your decisions before any holes go in the wall.
Lay everything out on the floor
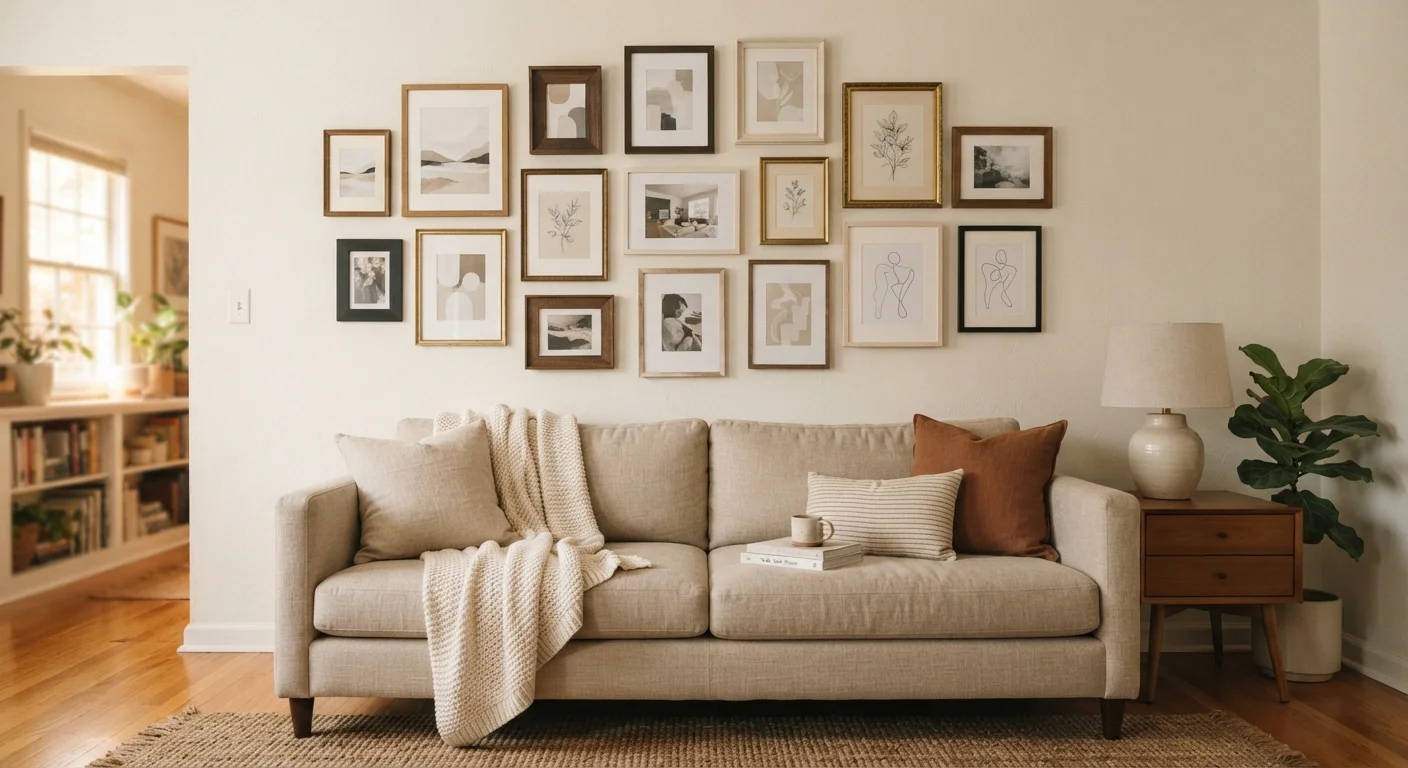
Place all your frames on the floor beneath the wall where they'll hang. Arrange and rearrange until you find a grouping that feels balanced. Aim for larger pieces toward the center or bottom-center of the arrangement, with smaller pieces filling the edges. Step back and photograph the layout you like - you'll reference this photo when you move to the wall.
Trace paper templates for each frame
Cut a piece of kraft paper or newspaper to the exact dimensions of each frame. On each template, mark the location of the hanging hardware on the back - the hook hole or wire position. This is where your nail will actually go, not the corner of the frame. Label each template with the frame name or a number so you can match it back to the floor photo.
Establish a center anchor line on the wall
Use a pencil and level to lightly mark a horizontal center line at eye level - roughly 57 to 60 inches from the floor is a common standard for gallery centers. This line acts as your anchor. Arrange the templates so the overall grouping is centered around this line, not lined up along the top or bottom edge.
Tape the paper templates to the wall
Using painter's tape, affix each paper template to the wall in the position you've chosen, replicating the floor layout as closely as possible. Stand back and assess spacing and balance. Adjust any templates that look off - this is the moment to fix problems for free, before any holes are made.
Mark nail positions through the templates
Once you're satisfied with the template arrangement, use a pencil to mark the nail hole location on each template directly onto the wall. Then carefully remove each paper template without shifting the marks. Double-check each mark with your level before moving to the next step.
Drive nails and hang frames one at a time
Drive a nail at each marked point, angling it slightly downward (about 45 degrees) for better holding power. Hang one frame at a time, checking with a level before moving to the next. Adjust any frame that sits crooked by gently bending the nail slightly or repositioning the hanging wire on the back hook.
Finishing Touches and Common Fixes
Once everything is hung, step back about ten feet and assess. Common issues at this stage include one side feeling heavier than the other (add a smaller piece or shift a larger frame toward the lighter side) and gaps that look uneven (consistent 2-3 inch spacing reads as intentional; anything more varied than that draws the eye for the wrong reason).
If a frame refuses to stay level, try foam mounting strips on the back corners to add grip against the wall surface. For plaster walls, use wall anchors rated for the frame weight - plaster can crumble around a bare nail faster than drywall.
Keep in mind that gallery walls are meant to evolve. Swapping in a new print or photo later is straightforward when your layout uses standard nail placements. This is one decorating choice that rewards you over time rather than creating regret - unlike some of the common decorating mistakes that reveal themselves slowly.
For a broader look at how this project fits into your home overall, the complete interior design overview for everyday homeowners is a useful companion resource. And if you enjoy hands-on wall projects, tiling a backsplash follows a similarly methodical layout-first approach.
Keep It Cohesive Without Being Matchy
Mixed frames look intentional when they share at least one unifying element - all black frames, all wood tones, or all white mats, for example. You don't need identical frames for the arrangement to feel deliberate. One repeated element across all pieces is usually enough to tie the wall together visually.