

Key Takeaways
What You'll Need Before You Start
Tiling a backsplash is one of the most rewarding DIY upgrades in a kitchen - it's visible, impactful, and entirely manageable for a first-timer who prepares properly. This guide is part of a broader look at hands-on projects covered in Home Improvement from the Ground Up.
Before picking up a trowel, gather everything listed below. Having tools and materials on hand before you begin prevents mid-project trips to the hardware store that throw off your adhesive's working time.
Wet tile saw
Makes straight, accurate cuts through ceramic, porcelain, or glass tile without cracking.
Notched trowel (3/16" V-notch for standard backsplash tile)
Spreads thin-set mortar evenly and creates ridges that help tiles bond securely to the wall.
Rubber grout float
Presses grout into tile joints at the correct angle without scratching the tile surface.
Tile spacers
Maintain consistent joint width between tiles for even grout lines.
Spirit level
Checks that tile rows are perfectly horizontal and vertical as you work.
Tile nipper or angle grinder with diamond blade
Removes small amounts of tile material for outlet cutouts or irregular shapes.
Grout sealer
Protects cured grout from moisture, stains, and kitchen grease after installation.
Also confirm your wall surface is ready: it should be clean, dry, free of grease, and primed if it's drywall. Kitchen backsplash areas behind a stove must use a cement backer board rather than standard drywall to handle heat and moisture safely. If you're unsure whether your existing surface is appropriate, consult a tile professional before proceeding.
Planning the Layout
Layout planning is the step most beginners skip - and it's the one that makes or breaks the finished look. Start by finding the horizontal center of the backsplash area. Use a tape measure to locate the midpoint between the two side edges, then mark a vertical reference line with a pencil and level.
Next, do a dry run: lay tiles along your countertop edge (without adhesive) working outward from the center line, inserting tile spacers between each tile as you go. This reveals exactly where cut tiles will fall at the ends. The goal is symmetry - you want roughly equal-sized cut pieces on each side rather than a sliver of tile on one end.
If your dry run shows a very narrow cut piece (less than half a tile width) at one side, shift the entire layout by half a tile width and check again. Mark your final starting point clearly on the wall.
Use a Story Pole for Complex Layouts
A story pole is simply a straight piece of lumber marked with your tile widths and spacer gaps. Hold it against the wall to quickly visualize how tiles will land without placing every tile individually. It's especially useful when your backsplash spans multiple rows or wraps around a window.
Cutting Tiles Accurately
Most backsplash installations require cuts at the edges, around outlets, and sometimes around cabinets. A wet tile saw - which uses a water-cooled diamond blade - is the most beginner-friendly option for straight cuts. It produces clean edges and reduces the risk of cracking compared to a manual snap cutter.
To mark a cut, place the tile against the wall in position and use a pencil to mark the cut line directly on the tile face. Always measure twice before cutting. For outlet cutouts, a tile nipper or an angle grinder with a diamond blade works well; cut slightly inside your line and nibble toward it gradually.
Wear safety glasses and hearing protection whenever cutting tile. Wet tile saws can be rented from most tool-rental locations if you don't want to purchase one outright.
Setting the Tiles
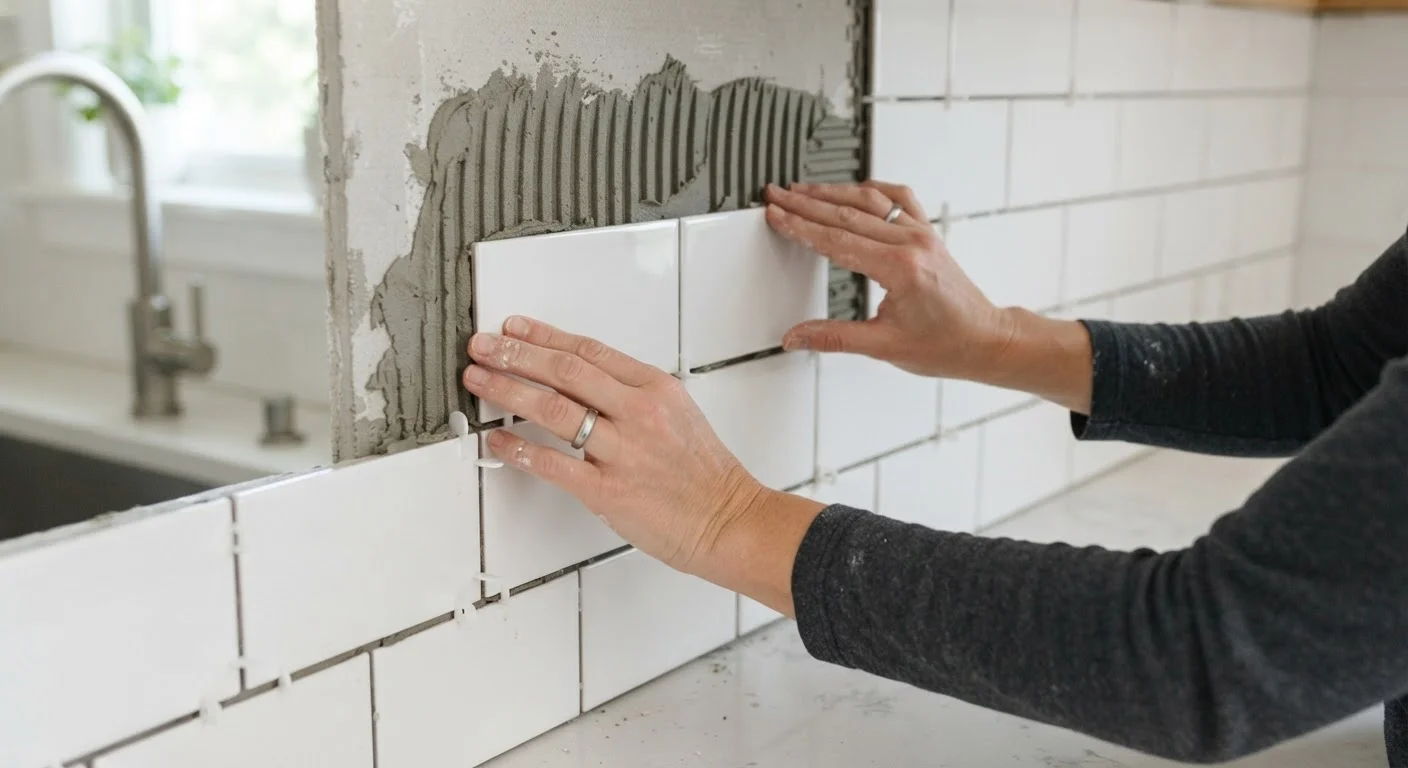
Mix your thin-set mortar (the adhesive used to bond tiles to walls) according to the package directions until it reaches a smooth, peanut-butter-like consistency. Work in small sections - about 2-3 square feet at a time - so the mortar doesn't skin over before you set your tiles.
Apply mortar to the wall using the flat edge of a notched trowel to spread it evenly, then use the notched edge to comb ridges into the surface. Press each tile firmly into place with a slight twisting motion to collapse the ridges and ensure full contact. Insert tile spacers at each corner as you go.
Use a level frequently - check every few tiles horizontally and vertically. Tap tiles gently with a rubber mallet if any sit proud of their neighbors. Once all tiles are set, allow the mortar to cure fully before grouting; check the product label, but 24 hours is a common minimum.
Grouting and Finishing
Remove all tile spacers before mixing grout. For backsplash joints narrower than 1/8 inch, use unsanded grout; for wider joints, sanded grout provides better structural support. Mix the grout to a smooth, lump-free consistency per the label instructions.
Apply grout using a rubber grout float held at a 45-degree angle, working it diagonally across the tile faces so it packs fully into the joints. Don't apply more than you can clean up in about 15-20 minutes. Once the joints are filled, wipe the tile surface with a damp (not wet) sponge in a circular motion, rinsing frequently. A light haze will remain - buff it off with a clean dry cloth after the grout has firmed up slightly.
Allow grout to cure for the time specified on the packaging (typically 48-72 hours), then apply a penetrating grout sealer to protect against moisture and staining. Caulk - not grout - should fill the joint where the backsplash meets the countertop; this flexible joint accommodates the slight movement between surfaces.
For complementary finishing touches throughout your kitchen and home, see our interior design overview for everyday homeowners. And if you're planning to tackle wall painting alongside your tile work, our guide on painting a room the right way covers surface prep through final finish.