

Key Takeaways
Start With a Plan, Not a Power Tool
The most common beginner mistake in home improvement isn't a crooked nail or a botched paint job - it's starting without a clear plan. Before buying a single item, define exactly what you want to accomplish, why, and what success looks like when you're done.
Write down the project scope in plain language: "Repaint the living room walls, replace two light switch covers, and patch a small hole in the drywall." That specificity lets you estimate materials, time, and skill requirements honestly. For a deeper look at how to map out your very first project, see our beginner's starter guide which walks through the planning process step by step.
Measure twice - or three times. Dimensions affect everything: paint coverage, tile quantities, lumber cuts, and appliance fit. Sketch a rough floor plan or wall diagram with measurements labeled. This simple habit prevents the most expensive beginner errors.
Before you finalize your project list, walk through every room with a notepad and rank repairs by urgency - water damage, failing seals, and structural concerns always come before cosmetic upgrades.
Prioritizing by condition rather than aesthetics prevents small problems from becoming expensive emergencies while you're focused elsewhere.
When in doubt about a measurement, buy slightly more material than your calculation suggests - most home improvement projects have unavoidable waste from cuts, breaks, and pattern matching.
Running short mid-project can mean delays if the same batch or dye lot is unavailable, which is a common problem with tile and flooring.
Understanding Permits and Local Codes
Permits exist to protect you, future occupants, and emergency responders. They ensure work is inspected and meets minimum safety standards set by local building codes. Skipping a required permit can result in fines, forced removal of completed work, or complications when you sell your home.
Generally speaking, cosmetic work - painting, replacing fixtures, installing flooring - does not require a permit. Structural changes, additions, electrical panel work, plumbing that ties into the main supply or drain stack, and HVAC modifications typically do. Rules vary significantly by municipality, so always verify with your local building or planning department before starting.
Gas, Structural, and Electrical Work Requires Professionals
Work involving gas lines, load-bearing walls, or electrical panels is not beginner-appropriate regardless of online tutorials. These categories carry serious safety risks and are regulated by code in virtually every US jurisdiction. Attempting them without proper licensing can void your homeowner's insurance and create liability you may not be aware of until it's too late.
A licensed contractor pulling permits on your behalf is standard practice for larger jobs. If you're doing permitted work yourself, most jurisdictions offer homeowner permits for certain tasks - but you'll still need to pass inspections.
Budgeting for Home Improvement Projects
Renovation costs consistently surprise beginners - not because estimates are dishonest, but because hidden conditions are common. Open a wall and you may find outdated wiring. Pull up old tile and find subflooring damage. Build a contingency of 10-20% above your planned budget into every project from the start.
10-20%
Recommended contingency buffer for renovation budgets
Industry guidance from construction cost consultants consistently recommends this range to account for hidden conditions and scope changes.
35%
Homeowners who exceeded their renovation budget
A survey by the Harvard Joint Center for Housing Studies found a significant share of homeowners underestimate total project costs.
Separate your budget into three buckets: materials, labor (if hiring), and contingency. Get at least two written quotes for any hired work, and ask each contractor to itemize labor and materials separately so you can compare accurately. Be cautious of quotes that seem dramatically lower than others without a clear explanation - that gap often signals corners being cut or scope being excluded.
Track spending as you go using a simple spreadsheet. Knowing where you stand in real time prevents the project-ending shortfall that stops work mid-room.
Building Your Beginner Tool Kit
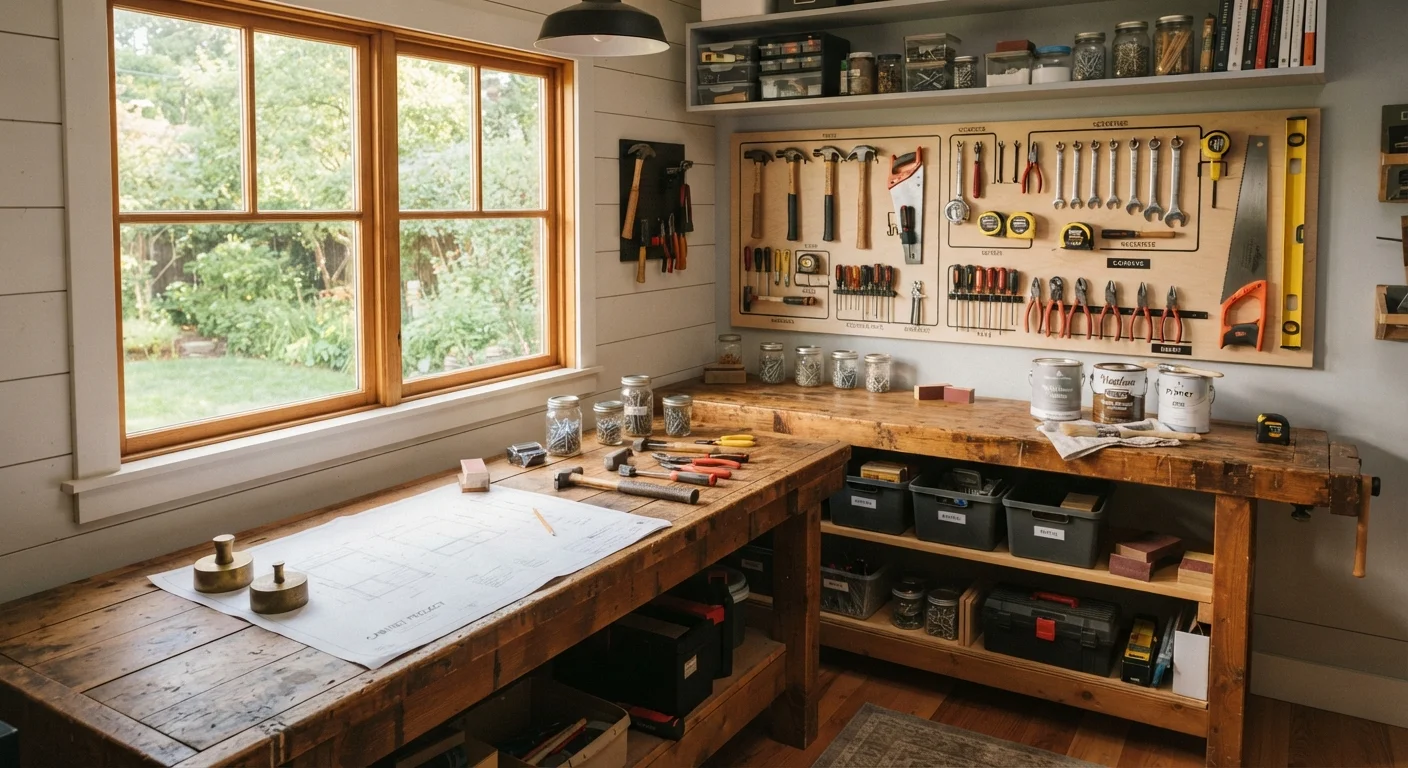
You don't need a garage full of equipment to handle most starter projects. A compact, well-chosen set of hand and power tools covers painting, minor repairs, furniture assembly, and basic carpentry. Prioritize quality over quantity - a single reliable tape measure beats three flimsy ones.
- Tape measure (25 ft): the most-used tool in any kit
- Hammer: claw style for driving and pulling nails
- Screwdriver set: flathead and Phillips in multiple sizes
- Cordless drill/driver: handles screws, anchors, and light drilling
- Level (2 ft): keeps shelves, frames, and tiles straight
- Utility knife: scores drywall, cuts materials, opens packaging
- Putty knife: patching holes and scraping surfaces
- Safety gear: safety glasses, work gloves, and a dust mask rated for your task
Add specialty tools - tile saws, pipe wrenches, oscillating multi-tools - only as specific projects require them. Renting is often more practical than buying for single-use equipment.
When to DIY and When to Hire a Pro
One of the most valuable skills a new homeowner can develop is accurate self-assessment. Not every task is appropriate for a beginner, and understanding the line between DIY-friendly and professional-required work protects your safety, your budget, and your home's value.
Generally suitable for confident beginners: painting, caulking, patching drywall, replacing outlet covers and switch plates, installing curtain rods, minor landscaping, and assembling flat-pack furniture.
Requires a licensed professional: electrical panel work, adding circuits, gas line connections, load-bearing wall modifications, roof repairs, and any work tied into the main plumbing stack. These categories carry legal, safety, and insurance implications that go beyond skill level. Our companion piece on common DIY myths unpacks several widely held beliefs about what homeowners can safely tackle on their own.
When hiring, ask for proof of license and insurance, request references for similar work, and get everything in writing - scope, timeline, payment schedule, and warranty.
Common Beginner Projects and How to Approach Them
These four projects are realistic, high-impact, and genuinely manageable for someone new to home improvement:
Painting a Room
Prep is 80% of a good paint job. Clean walls, fill holes, sand smooth, and apply primer before your topcoat - especially on new drywall or dramatic color changes. Use painter's tape at edges, work in sections from ceiling to floor, and allow full dry time between coats.
Replacing a Faucet
Shut off the water supply valves under the sink before starting. Take photos of existing connections before removing anything. Most modern faucets include installation instructions - follow them precisely. If you encounter corroded supply lines or unexpected pipe configurations, stop and call a plumber.
Installing a Ceiling Light Fixture
Always turn off power at the circuit breaker - not just the wall switch - and confirm it's off with a non-contact voltage tester before touching any wires. If your existing wiring doesn't match the fixture's instructions or you're unsure about any connection, contact a licensed electrician.
Refinishing or Replacing Baseboards
A satisfying visual upgrade that requires only basic tools. Fill gaps with paintable caulk, sand lightly, prime bare wood, and finish with trim paint. For a broader look at how small design choices add up, our room-by-room interior design overview offers useful context on how finishes and fixtures work together.