

Key Takeaways
Why Preparation Makes or Breaks the Final Result
Most paint jobs that look disappointing - streaky, peeling, or uneven - fail because of inadequate preparation, not the paint itself. Walls need to be clean, smooth, and properly primed before any color goes on. Rushing this stage is the single most common mistake beginners make.
Before you buy a single can of paint, think through your finish as well as your color. The sheen level you choose - matte, eggshell, satin, or gloss - affects both the final look and how well the walls hold up to cleaning. Our comparison of interior paint finishes can help you choose the right one for each room before you start.
For context on how painting fits into a larger decorating project, our complete interior design overview covers how color, finish, and styling decisions work together across an entire home.
Painter's tape
Masks trim, baseboards, window frames, and outlet covers to keep paint lines clean.
Drop cloths
Protects floors and furniture from drips and spatters during painting.
Spackling compound and putty knife
Fills nail holes, small dings, and hairline cracks before painting.
Fine-grit sandpaper (120-150 grit)
Smooths patched areas and scuffs glossy surfaces so primer adheres properly.
Primer
Seals bare drywall or stains and improves paint adhesion and color accuracy.
Angled sash brush (2-2.5 inch)
Used for cutting in - painting a precise band along edges, corners, and trim.
Paint roller and tray
Applies paint quickly and evenly across large wall surfaces.
Extension pole for roller
Reaches upper wall areas without a ladder for most standard ceiling heights.
Step-by-Step: From Bare Walls to Finished Coat
Follow these steps in order. Each builds on the last, and skipping ahead - particularly past the prep and prime stages - will show in the final result. Give drying times the respect they deserve; paint applied over a wet surface will not adhere correctly.
What you will need
Clear and protect the room
Remove as much furniture as possible. Move what remains to the center and cover it with drop cloths. Lay drop cloths over the entire floor - paint drips are nearly impossible to fully avoid, even with care. Remove outlet covers and switch plates, and set them aside.
Apply painter's tape to trim and edges
Run painter's tape along the top edge of baseboards, around door and window trim, and along the ceiling line if you're not painting the ceiling. Press the tape edge down firmly with a putty knife or your fingernail to prevent paint from bleeding underneath.
Patch holes and repair imperfections
Inspect every wall carefully under good lighting. Fill nail holes and small dents with spackling compound using a putty knife, slightly overfilling each spot. Allow to dry fully according to the product instructions - typically one to two hours for small patches. Once dry, sand the patched areas flush with 120-150 grit sandpaper until smooth to the touch. Wipe away all dust with a damp cloth.
Clean the walls
Even walls that look clean accumulate grease, dust, and grime - especially in kitchens and hallways. Wipe walls down with a damp cloth or a mild solution of dish soap and water, then rinse. Let them dry completely before priming. Skipping this step is one of the most common reasons paint peels or bubbles prematurely.
Prime the walls
Primer is not optional when painting over bare drywall (such as after a patch), covering a dark or bold existing color, or addressing stains. Roll primer onto the wall in the same technique you'll use for paint - cut in the edges first with a brush, then roll the field. Allow primer to dry completely before applying any paint, following the dry time on the can label.
Cut in the edges
Load your angled sash brush and apply a 2-3 inch band of paint along all edges - where walls meet the ceiling, corners where two walls meet, and along the top of baseboards. Use slow, steady strokes and keep a wet edge (don't let the cut-in band dry before you roll). Work one wall at a time.
Roll the walls
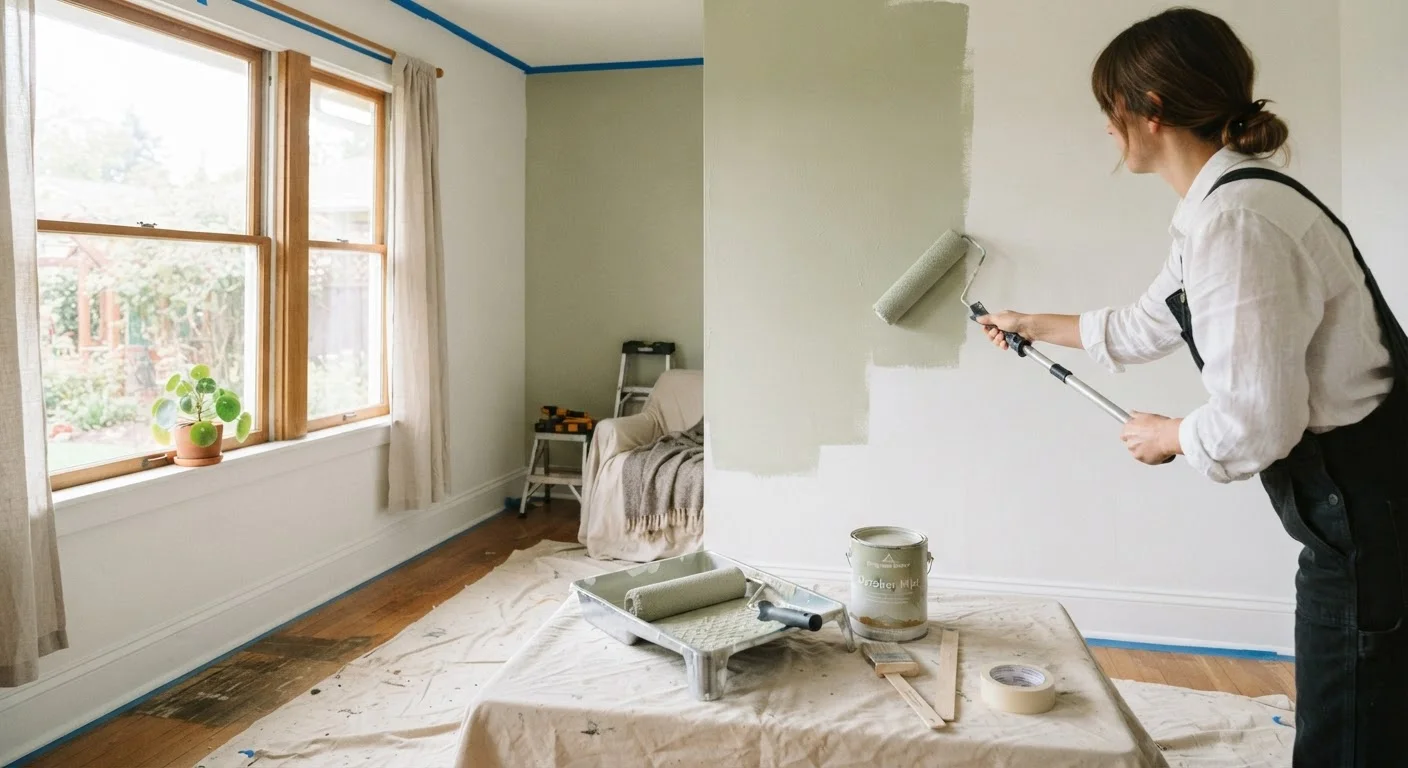
Pour paint into the tray and load the roller evenly, rolling out excess on the tray's ridged surface. Apply paint using a 'W' or 'M' pattern to distribute it, then fill in with vertical strokes without lifting the roller. Keep a wet edge by overlapping into the previous section while it's still wet. Work from top to bottom, completing one wall before moving to the next.
Apply a second coat
Allow the first coat to dry fully - typically two to four hours for latex paint, though the can label is the definitive guide. Do not rush this. Once dry, lightly inspect the surface and apply a second coat using the same cut-in-then-roll approach. Two coats almost always provide better, more even coverage than one heavy coat. Remove painter's tape while the final coat is still slightly tacky to avoid peeling the dried paint edge.
Pick Your Finish Before You Buy
The sheen of a paint affects how a room looks and how the walls clean up. Matte hides imperfections well but is harder to wipe down; eggshell and satin are more washable and suit high-traffic rooms. See our guide to paint finish types for a full breakdown before you commit to a sheen.
Once your walls are finished and fully cured (typically a week for latex paint to fully harden), you may be ready for the next stage of the room. Our guide to hanging a gallery wall is a natural next step if you're planning to add art or photographs to your freshly painted walls.
Ventilate the Room Properly
Paint fumes - even from water-based latex paints - can cause headaches and irritation in enclosed spaces. Open windows and run a fan to move air through the room throughout the project. If anyone in your household has respiratory sensitivities, plan for them to be out of the area until the room has aired out fully, typically 24-48 hours after the final coat.
Older Homes May Contain Lead Paint
If your home was built before 1978, there is a possibility that existing paint layers contain lead. Sanding or disturbing lead paint without proper precautions poses serious health risks, particularly for children and pregnant individuals. Before sanding any surfaces in an older home, use an EPA-recognized lead test kit or hire a certified lead inspector. Do not sand or scrape suspect surfaces without appropriate protective equipment and containment procedures.