

Key Takeaways
Why Composting Is Worth the Effort
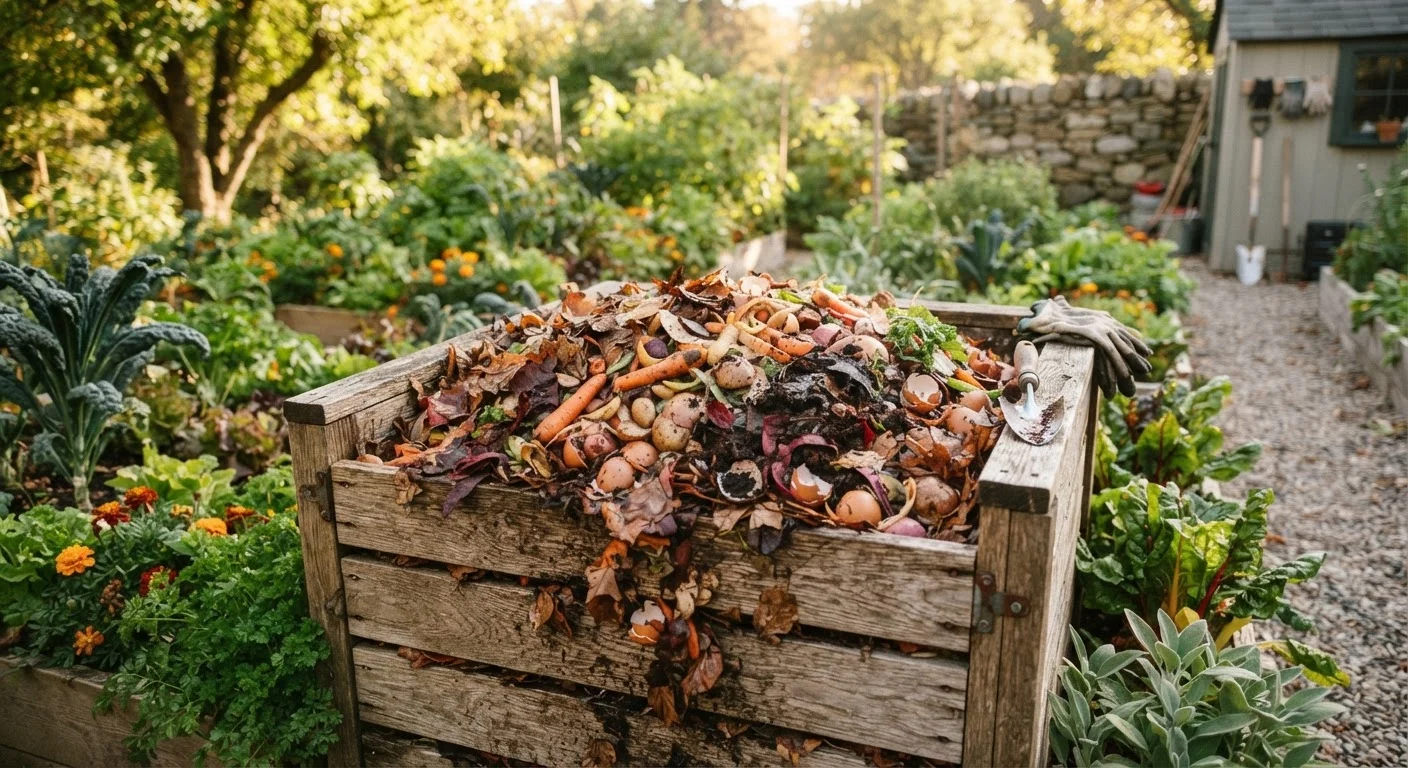
Compost is often called garden gold for good reason. When worked into your soil, it improves drainage in heavy clay, helps sandy soil retain moisture, feeds beneficial soil organisms, and slowly releases nutrients that plants can actually use. Unlike synthetic fertilizers, compost builds long-term soil health rather than providing a short-term chemical fix.
For new gardeners, it also closes a satisfying loop: the carrot tops and coffee grounds from your kitchen become the amendment that makes next season's vegetables grow better. If you're planning your first vegetable garden, building a compost pile now means you'll have a free, high-quality soil amendment ready well before planting time.
The science behind composting is straightforward. Bacteria and fungi break down organic matter - the same process that happens on a forest floor, just in a managed form. Your job is simply to give those microbes the right conditions: food (mixed organic materials), air (turning), and water (moisture).
Compost bin or open pile area
Contains your composting materials and retains heat and moisture to support decomposition.
Garden fork or compost turning tool
Used to aerate the pile by turning and mixing materials regularly.
Kitchen scrap collection container
A small countertop bin for collecting food scraps before transferring them to the outdoor pile.
Garden hose or watering can
Adds moisture to the pile when it dries out, which is essential for microbial activity.
Thermometer (compost or probe type)
Measures internal pile temperature to confirm active decomposition is occurring.
Setting Up and Managing Your Pile
Before you start, review what you'll need.
What you will need
Follow the steps below to get your first pile up and running. Most beginners are surprised by how little active management a compost pile actually needs once it's set up correctly.
Choose your composting method and location
Decide whether you'll use an open pile, a DIY bin made from wire or pallets, or a purchased enclosed bin. Open piles suit larger yards; enclosed bins work better for smaller spaces and help deter wildlife. Place your setup in a partly shaded spot with good drainage - direct sun dries piles out quickly, while a low spot may become waterlogged.
Gather your 'greens' and 'browns'
Composting works by balancing two types of material. Greens (nitrogen-rich) include fruit and vegetable scraps, fresh grass clippings, and coffee grounds. Browns (carbon-rich) include dry leaves, cardboard torn into pieces, paper bags, and straw. Aim for roughly two to three parts browns for every one part greens by volume. Too many greens creates a slimy, smelly pile; too many browns slows decomposition noticeably.
Build your initial pile
Start with a 4-6 inch layer of coarse browns at the base to allow airflow. Add a layer of greens, then alternate browns and greens as you build upward. A pile at least 3 feet in all dimensions retains heat well enough to support active decomposition. Dampen each layer lightly as you go - the pile should feel moist like a wrung-out sponge, not soaking wet.
Maintain moisture and aeration
Check your pile every week or two. Push your hand or a stick into the center - it should feel warm and slightly damp. If it's dry, add water gradually while turning. If it smells sour or looks slimy, it's too wet; mix in more dry browns and turn to introduce air. Turning the pile every one to two weeks with a garden fork moves oxygen through the material, which is essential for the microbes doing the decomposing work.
Recognize and harvest finished compost
Finished compost looks dark brown and crumbly, smells earthy (like forest floor), and no longer resembles the original scraps. This typically takes two to six months depending on pile size, materials, and how often you turn it. When it's ready, screen out any large unfinished chunks and return them to a new pile. Apply finished compost to garden beds as a 1-2 inch surface layer, work it lightly into soil, or blend it into potting mixes.
Never Compost These Materials
Avoid adding meat, fish, dairy products, oily foods, pet waste, or diseased plant material to your home compost pile. These items attract pests, create odor problems, and can introduce pathogens. Stick to plant-based scraps, coffee grounds, eggshells, and dry yard waste for a clean, productive pile.
Once you have a reliable compost supply, you'll find yourself thinking differently about your whole growing setup. Compost improves outcomes whether you're growing in raised beds, containers, or directly in the ground. And if you're still deciding what to grow, pairing your compost-enriched soil with beginner-friendly vegetables gives you the best chance of a genuinely rewarding first harvest.
Speed Things Up With Smaller Pieces
Chopping or shredding materials before adding them to your pile dramatically increases the surface area available to decomposing microbes. Torn cardboard, cut vegetable scraps, and shredded leaves break down noticeably faster than whole pieces. A few minutes of prep work can shave weeks off your composting timeline.