

Key Takeaways
Start here
Choosing Your Garden Spot
Next
Deciding What to Grow
Then
Preparing Your Soil
Getting hands-on
Planting and Spacing
Ongoing care
Watering, Weeding, and Feeding
The reward
Reaching Your First Harvest
Choosing Your Garden Spot
Before buying a single seed packet, spend a few days observing your yard or outdoor space. The most important factor for any vegetable garden is sunlight. Most vegetables - tomatoes, peppers, beans, squash - need at least six hours of direct sunlight each day. Leafy greens like spinach and lettuce tolerate partial shade, but even they produce best with four or more hours of sun.
Beyond light, consider proximity to a water source. You'll be watering regularly, and a long hose drag makes the task feel like a chore. Also look for relatively level ground, since sloped areas can cause uneven watering and erosion. Avoid low spots where water pools after rain - roots sitting in waterlogged soil rot quickly.
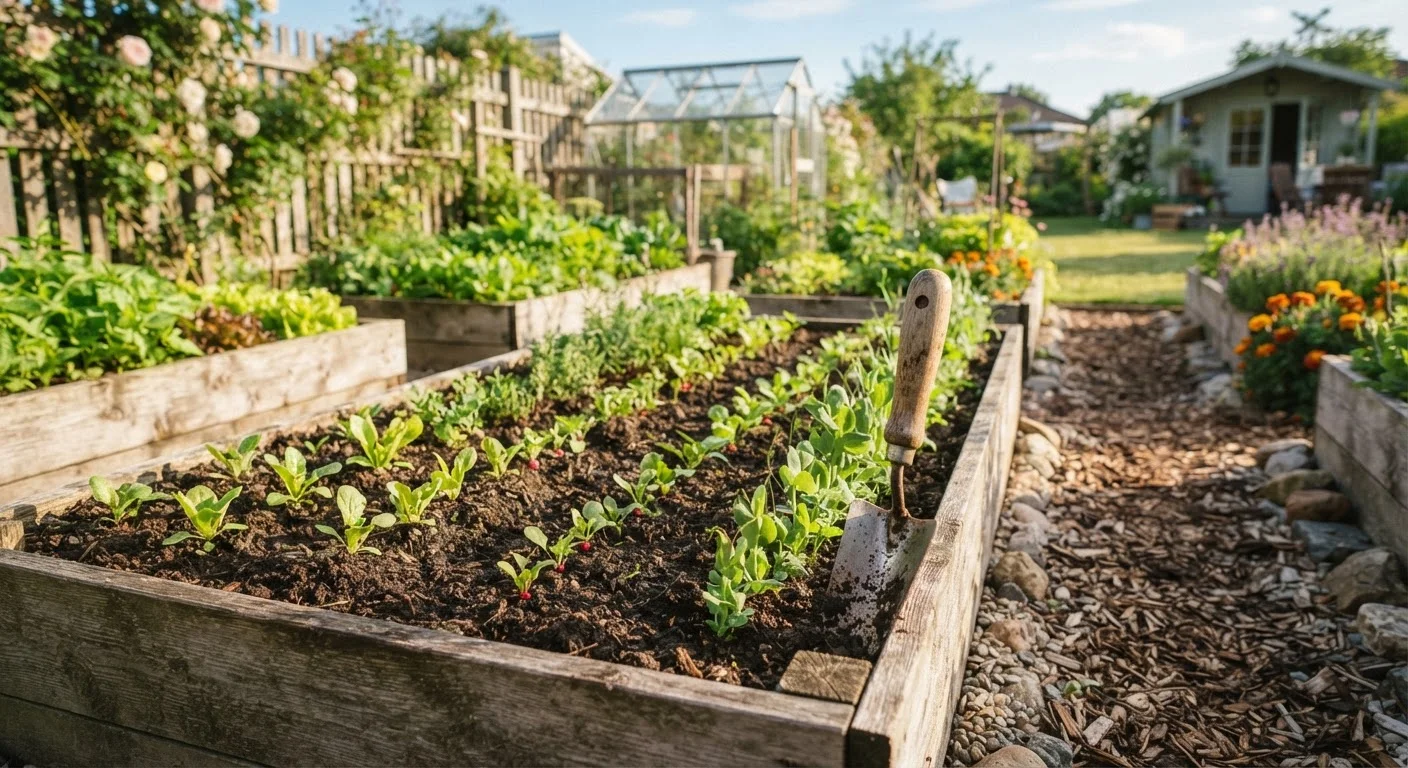
If your soil is poor, compacted, or you're working with a paved surface, a raised bed is an excellent beginner option. A bed 4 feet wide by 8 feet long, filled with quality growing mix, sidesteps many common soil problems and puts the garden at a comfortable working height.
Start Smaller Than You Think
A 4×4-foot or 4×8-foot bed is genuinely enough for a rewarding first season. Beginners often underestimate how much time routine care takes, and a smaller plot keeps the commitment realistic. You can always expand next year once you understand what your garden demands week to week.
Deciding What to Grow
Resist the temptation to grow every vegetable you enjoy eating. A focused first garden - five to eight crop types - is far easier to manage and far more satisfying. Choose vegetables that suit your climate, match your eating habits, and are known to be forgiving.
Reliable beginner crops include: radishes (ready in as little as 25 days), bush beans, zucchini, cherry tomatoes, leaf lettuce, cucumbers, and kale. These are resilient, widely adaptable, and produce visible results quickly enough to keep motivation high.
Before planting, look up your USDA Plant Hardiness Zone and your region's last frost date. Seed packets and plant labels include this information in their guidance. Your local cooperative extension office - a publicly funded agricultural education resource - is a reliable, free source of region-specific planting advice. You should also consider whether to start from seed or purchase transplants; our guide on starting from seed vs. buying seedlings can help you decide.
USDA Plant Hardiness Zone
A geographic classification system that tells you the average minimum winter temperatures in your area, helping you choose plants suited to your climate.
Last frost date
The approximate calendar date after which freezing temperatures are unlikely in your area - a key marker for timing when to plant warm-season crops outdoors.
Compost
Decomposed organic material - food scraps, leaves, grass clippings - that improves soil structure, adds nutrients, and supports healthy plant growth.
Raised bed
A contained garden area built above ground level, usually framed with wood or other materials and filled with quality growing mix, giving you control over soil quality.
Direct sowing
Planting seeds directly into the garden soil where plants will grow, as opposed to starting them indoors and transplanting later.
Transplant
A young plant started from seed indoors or in a greenhouse, then moved to its permanent outdoor growing spot once conditions are right.
Preparing Your Soil
Healthy soil is the single biggest predictor of a successful harvest. Good vegetable garden soil is loose, dark, and rich in organic matter - it should crumble in your hand, not clump into a hard ball or fall apart like dry sand.
Begin by loosening the top 10 to 12 inches of existing soil with a garden fork. Then work in a generous layer of compost - at least 2 to 3 inches spread across the surface and mixed in. Compost adds nutrients, improves drainage in clay soils, and helps sandy soils retain moisture. If you want to make your own, our article on composting at home explains how to get started with kitchen and yard scraps.
If you suspect your native soil has significant problems - extreme clay, hardpan, contamination from old paint or lead pipes - consider filling a raised bed with a premixed vegetable garden blend rather than amending in place.
Planting and Spacing
One of the most common beginner mistakes is overcrowding. Plants need room for roots to expand, air to circulate, and light to reach every leaf. Crowded plants compete for nutrients and are more prone to disease. Always follow the spacing guidance on the seed packet or plant label - these recommendations exist for good reason.
For seeds, plant at the depth indicated on the packet (typically two to three times the seed's diameter). Water gently after planting, keeping the soil consistently moist until germination. For transplanted seedlings, dig a hole slightly wider and deeper than the root ball, settle the plant in, firm the soil around it, and water thoroughly.
Label each row or section with the crop name and planting date. This simple habit pays off when you're tracking growth and timing harvests weeks later.
Watering, Weeding, and Feeding
Consistent moisture is more important than any single watering technique. Aim to keep the top inch or two of soil moist but never saturated. A soaker hose or drip line delivers water directly to the root zone with minimal evaporation - both are practical, low-cost tools worth considering as your garden grows.
Weeding is essential because weeds compete aggressively with vegetables for water and nutrients. Pull weeds when they're young and the soil is moist - they come out far more easily. A 2- to 3-inch layer of mulch (straw, shredded leaves, or untreated wood chips) laid between plants dramatically reduces weed growth and helps retain soil moisture.
Most vegetables benefit from supplemental feeding mid-season. A balanced, slow-release granular fertilizer, applied according to the package directions, supports continued growth without overwhelming plants with nutrients. Heavy feeders like tomatoes may benefit from additional feeding as fruit develops.
Reaching Your First Harvest
Knowing when to harvest is a skill that develops with observation. In general, vegetables taste best when picked at their peak - slightly early rather than overripe. Zucchini harvested at 6 to 8 inches is far more tender than one left to balloon on the vine. Cherry tomatoes are ready when they pull easily from the stem with a gentle twist. Lettuce leaves can be harvested outer-leaf by outer-leaf, letting the center continue producing for weeks.
Harvest regularly. Leaving ripe vegetables on the plant signals it to slow production; picking frequently encourages continued fruiting. Check your garden every two to three days during peak growing season.
Your first harvest, however modest, represents meaningful gardening knowledge you've built from the ground up. The same methodical, step-by-step approach that works in the garden applies to other home projects - if you enjoy working with your hands, our beginner's guide to your first home improvement project covers how to approach indoor tasks with the same confidence.