

Key Takeaways
Why Seedlings Fail After a Promising Start
Watching seeds germinate is one of gardening's small triumphs - which makes it all the more discouraging when those tiny shoots collapse or simply stop growing a week later. The good news is that seedling failure almost always has a clear, fixable cause. Understanding the most common mistakes means you can sidestep them entirely next time.
If you're still deciding whether to grow from seed at all, our guide to starting from seed vs. buying seedlings can help you weigh the options before you invest time and effort.
Overwatering seedlings, keeping the growing medium consistently soggy.
Why it happens: Beginners often equate moisture with care, watering on a fixed schedule rather than checking whether the medium actually needs it.
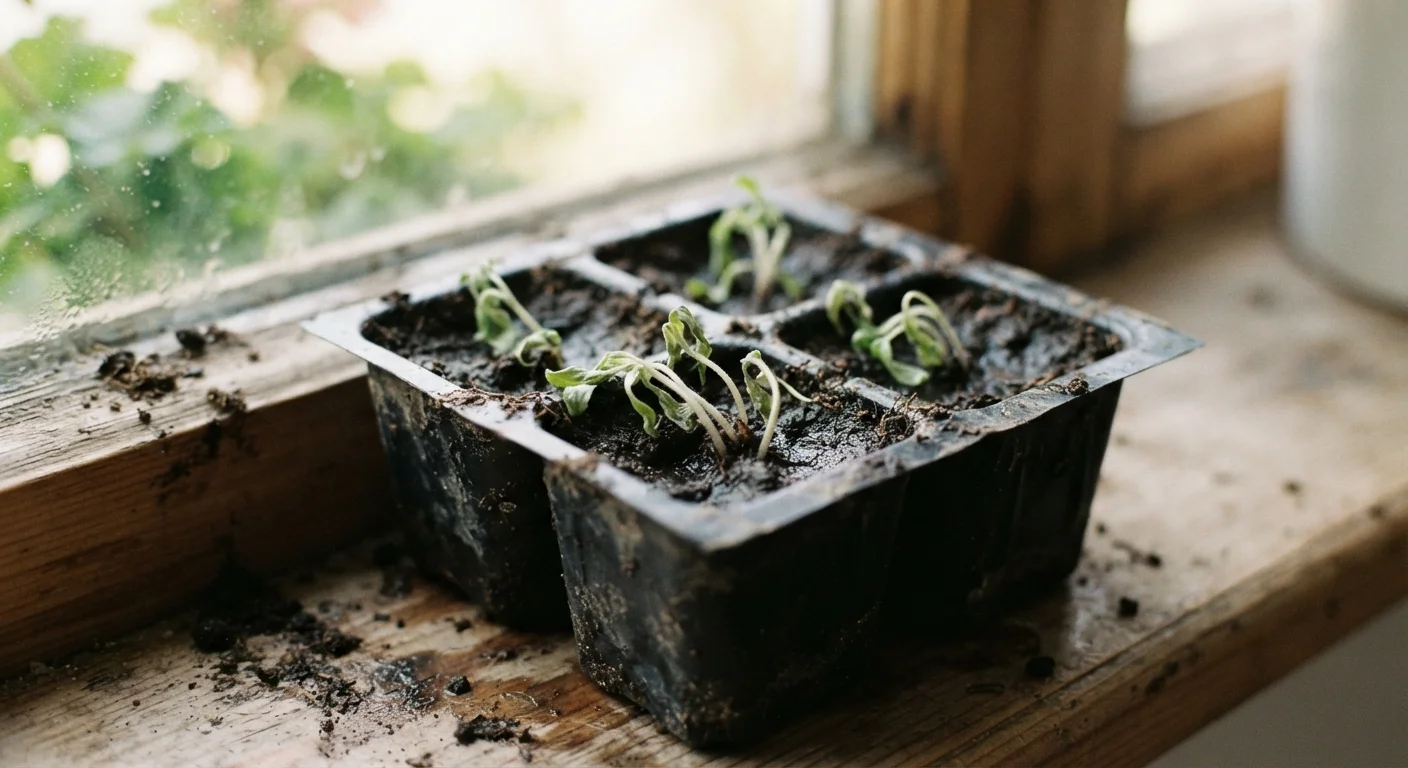
Growing in conditions that cause damping off - a fungal collapse where seedlings topple at the soil line.
Why it happens: Damping off thrives when soil stays wet, air circulation is poor, and temperatures are cool. Crowded trays and reused unsterilized containers make it worse.
Providing too little light, causing weak, leggy growth that can't sustain itself.
Why it happens: A typical household window delivers far less light than the outdoors, and many beginners don't realize how light-hungry young seedlings are during their first weeks.
Starting seeds in regular potting mix or garden soil instead of seed-starting mix.
Why it happens: It seems logical to use the same soil you'd use for established plants, but regular mixes are often too dense and heavy for fragile new roots.
Transplanting seedlings outdoors before they're ready, or without hardening them off first.
Why it happens: After weeks of nurturing, beginners are eager to get plants in the ground - often moving them out during a warm spell before the seedlings have adapted to outdoor conditions.
Setting Up Better Conditions From the Start
Most seedling problems are environmental, which means adjusting your setup is usually more effective than changing what you're planting. A few targeted improvements make an outsized difference.
Don't Reuse Last Year's Seed-Starting Mix
Old growing medium can harbor fungal spores and pest eggs from a previous season, dramatically increasing the risk of damping off and poor germination. Starting fresh with a sterile mix each year is one of the lowest-effort ways to protect your seedlings. It also ensures the mix hasn't broken down and compacted, which would restrict the delicate root growth young seedlings depend on.
Light first: If you don't have a grow light, position trays as close to your brightest window as possible - south-facing in the Northern Hemisphere - and rotate them daily so seedlings don't lean toward the glass. Aim for 14-16 hours of bright light per day for most vegetable and flower seedlings.
Water smarter: Water from below by setting your tray in a shallow dish of water for 20-30 minutes, then removing it. This encourages roots to grow downward and keeps the surface soil drier, which discourages fungal growth. For more detail on getting watering right, see our guide to watering a garden well.
Harden off before transplanting: About a week before moving seedlings outdoors, begin setting them outside in a sheltered spot for a few hours each day, gradually increasing exposure. This acclimatizes them to outdoor temperature swings, wind, and direct sun - conditions they've never experienced under artificial or indoor light. Skipping this step is one of the most reliable ways to lose otherwise healthy plants.
Choosing where those seedlings eventually live also matters. Our overview of raised beds, containers, and ground planting covers the trade-offs of each setup so your seedlings land in the right environment.
Finally, remember that some failure is simply part of learning to garden. Even experienced growers lose seedlings. The goal isn't a perfect batch - it's understanding what went wrong so the next batch does better.