

Key Takeaways
Why Caulk Keeps Failing
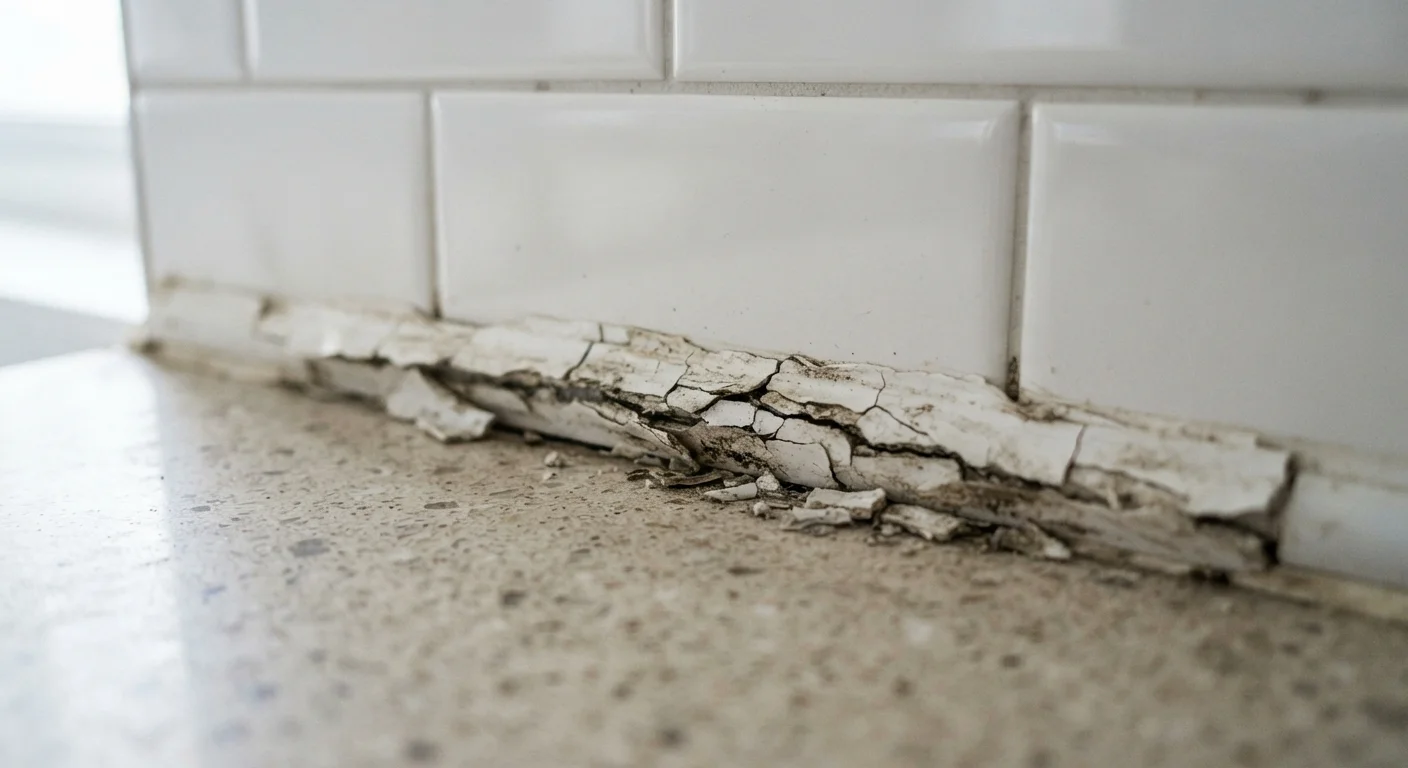
If you've re-caulked a shower or window frame only to watch it peel again within a few months, the problem almost certainly isn't the caulk itself. Caulk is a flexible sealant - usually silicone, latex, or a hybrid - designed to bridge gaps between surfaces that expand, contract, or vibrate with temperature and use. When it fails early, the culprit is almost always preparation or application. Understanding the common mistakes behind early caulk failure can save you from repeating the same frustrating cycle.
For context on which type of filler belongs in which situation, see our guide to grout vs. caulk - using the wrong product entirely is a mistake in its own right.
Applying new caulk directly over old, deteriorating caulk.
Why it happens: Removing old caulk is tedious, so many people simply apply a fresh layer on top, assuming it will bond and seal.
Caulking over a surface that isn't fully dry.
Why it happens: Surfaces in bathrooms and kitchens are frequently damp, and it's easy to underestimate how long drying truly takes after cleaning or use.
Caulking over mold, mildew, or soap residue.
Why it happens: Surface contamination isn't always visible, and thorough cleaning feels like extra work when the goal is just to reseal a gap.
Using the wrong caulk type for the location or material.
Why it happens: Caulk labels can be confusing, and many beginners assume any caulk will work anywhere - or they simply grab what's available.
Applying too thick a bead and not tooling it smooth.
Why it happens: It seems intuitive that more caulk means a better seal, and smoothing the bead is a step that beginners often skip.
How to Get Caulk That Actually Lasts
Applying caulk successfully comes down to patience more than skill. The actual bead takes minutes to lay; the preparation can take an hour or more - and that ratio is exactly right. Rushing the prep is the single most common reason homeowners find themselves back at the hardware store within a season.
Don't Skip the Cure Time
One of the most damaging things you can do after recaulking a shower or tub is to use it too soon. Water exposure before the caulk has fully cured can break the bond permanently - meaning the job fails before it ever truly sets. Check your caulk's label for the recommended cure time and treat it as a firm minimum, not a suggestion. In damp or cool conditions, allow extra time.
Once the surface is clean, dry, and primed where needed, cut your caulk tube at a 45-degree angle to the width of the gap - smaller than you think - and apply steady, even pressure as you move the gun in one smooth pass. After laying the bead, wet your fingertip or use a caulk tool to smooth it immediately before a skin forms. Allow full cure time (check your product label; silicone often needs 24 hours before water exposure) before using the area. A little patience here pays off in years of performance rather than months.